
I’ve been wanting to try the Whistler for some time. Let me rephrase that, I begged Dave to source one from LowePro to review. When I saw the promotional video, shared by pro photographers I follow and am lucky to be friends with, it looked like it was up for some serious mountain use.
Now I am no pro. I enjoy my photography, but I like the vast majority have a full time job, commitments and other interest. I had purchased my 7D a few years ago and never invested in a camera specific bag. I couldn’t decide on features, aesthetics and above all cost. Ironic really, when you consider the value of the contents inside.
Rather than a quick try it for a month, I’ve been using the Whistler 350AW for the best part of a year and it has travelled with me to the following locations and shoots;
A Day with Anna Frost – Coed Y Brenin
Salomon Advanced Week – Keswick
Shimano International Enduro – Peebles
UCI Downhill World Cup – Fort William
UCI Downhill World Cup – Leogang
Best Friends Wedding – Guernsey
Montane Lakeland 50 Ultra – Coniston
UTMB – France/Italy/Switzerland
Every photo taken for MyOutdoors since March – UK wide
I’ve crammed it into budget airline overhead lockers, carried it up alpine trails, ran down steep switchbacks and used it as my workhorse. So integral to my shooting, writing the review became an afterthought as it was a prominent part of my regular kit.
So, does the LowePro Whistler 350AW live up to its action sport mecca name?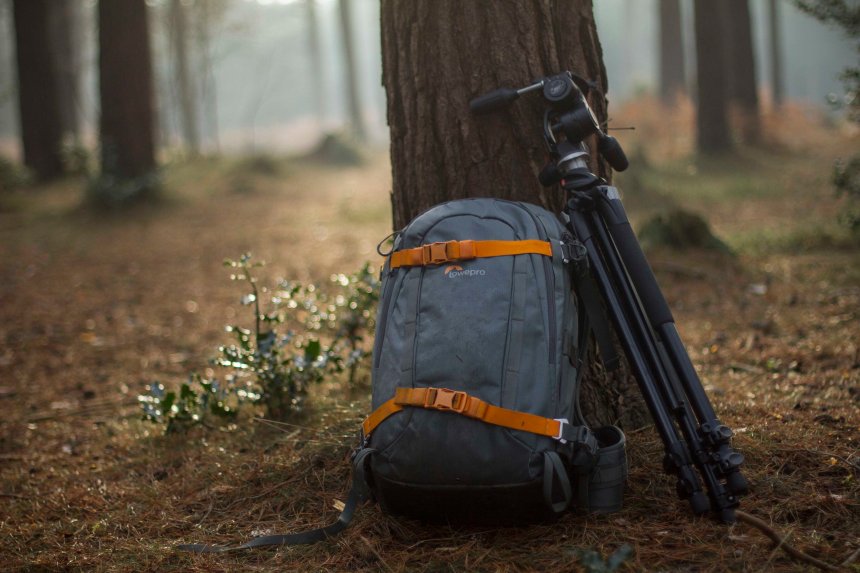
First up, the Whislter is built to last, it’s not lightweight and flimsy, tipping the scales just under 3KG unladen. The lining of the camera ICU is substantial and provides a sense of security if you were to drop it out in the field. I wasn’t about to test the protection for one second, lenses may be tools, but I still care about the monetary value too much. The outside is constructed from 420 Denier Ripstop Nylon, with a TPU face coating, providing a hardwearing surface which doesn’t soak up water like a sponge. Having dragged it around the alps, Scotland and beyond, outside of mud, there is little sign of wear. Given the face coating, cleaning the exterior is easy…. I’m just lazy, hence the mud splatters.
The main body holds the camera compartment, which is fully adjustable, thanks to intelligent use of foam lined dividers, with Velcro at either end for easy storage changes. Nestled in between are smaller orange dividers which work as pockets for GoPro’s or other smaller items. Though I never found the need for them, it’s a clever idea, not taking up additional space when not in use. The entire compartment is removable for drying out the bag after a long day in the rain.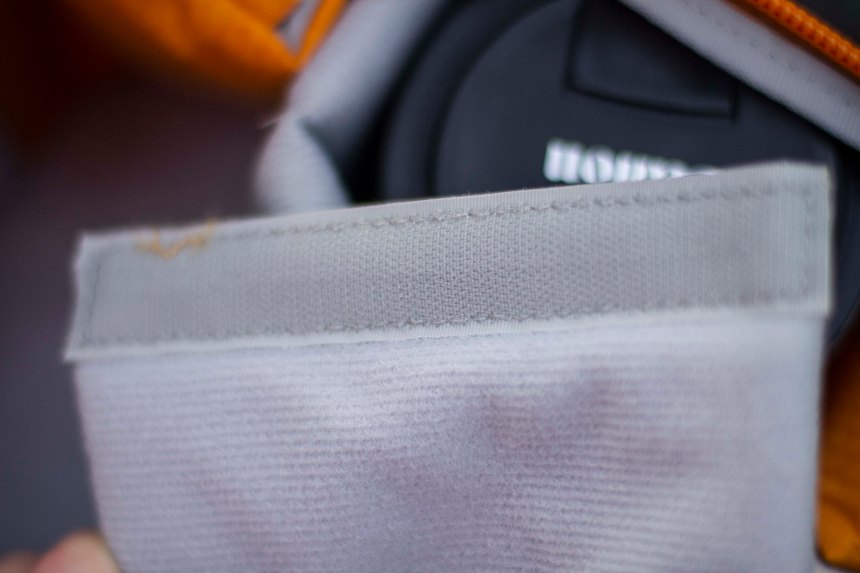

The layout and maximum storage is dictated by your loadout, and LowePro suggest a full frame camera, telephoto lens and additional 4 lenses will fit into the cubby holes.
Larger full frame lenses can be a struggle, however when playing with possible combinations, it is possible to find your optimum lay out. The only main issue I found was my 70-200mm, with its large lens hood. It is a squeeze, and does deform the compartments around it. Think of a large tree wedged between two saplings, you get the idea. Without the hood a perfect fit, so it will come down to your choice of mega lens.
Out back, the two-stage access door has come in useful when the weather has set in. Being able to open up half the back to make for quick lens changes, when its raining, keeping kit dry.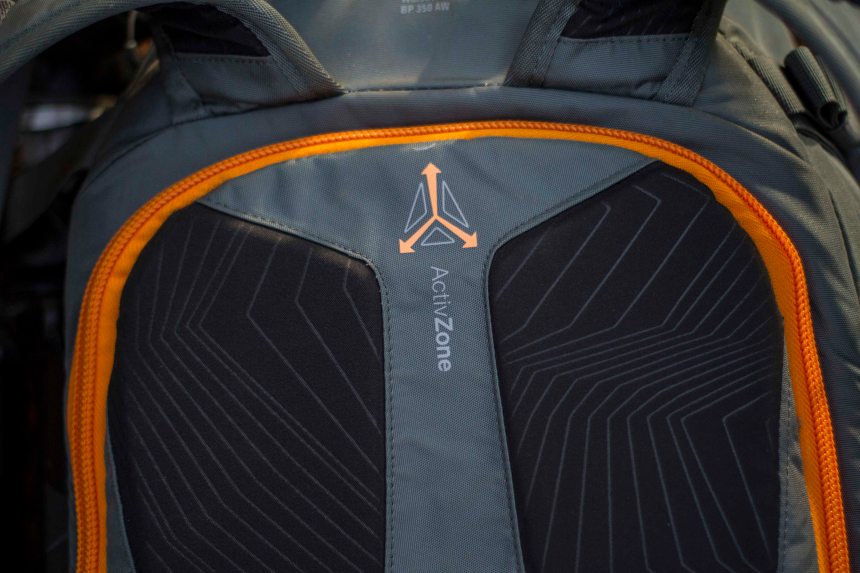
My typical load out was as follows
Canon 7D
Canon EF 70-200mm F2.8 IS II USM (attached)
Canon EF 50mm F/1.4 USM
Canon EF 16-35mm F/4L
Canon EF 15mm F/2.8
GoPro Hero 3+
Rode Video Mic Pro
Canon Speedlite 580 EXii
Cleaning kit
Berghaus Extrem Ilam Down Jacket (in stuff sac)
I would also carry spare cards, batteries, mounts, gloves, hat, knife, thermal layer, waterproof layer and water.
Below are the contents of what I either put in the bag or wore at UTMB in August.
Fully loaded, its heavy as you would expect and I carried it on and off for 20 hours around the UTMB course, hiking to the top of Grand Col Ferret, running down the pass and climbing to multiple locations. Despite fatigue, the Whistler never became uncomfortable, whether 3AM in multiple layers or midday, in shorts and t-shirt.
The waist strap is broad and bears the majority of the load. It could have the ability to be slightly narrower, my 30 inch waist was a little too small sometimes. A small pocket was handy for 1 or 2 Clif Bars for fueling on the move and the sternum strap balanced the pack well, providing enough support no matter the angle. Above, the shoulder straps are wide enough to avoid digging in when fully loaded, yet not so bulky they become obstructive. Towards the bottom, the sternum strap is neatly located behind a recess, a very nice detail.
Given my shorter stature, 5ft 7”, the 350AW isn’t overbearing or too long. Often one size backpacks have a habit of sitting below my waist or restricting my head due to their height. This does mean the taller people out there will have no issues what so ever with either the 350 or its larger cousin, the 450AW.
Although the outer material has a water resistance, the AW or All Weather logo identifies the Whistler as having a rain cover and it easily accommodates the pack. Stored in the top zip pocket, it allows for quick access when the weather changes. However, if you get caught out or simply forget it, the front pocket has a drainage hole at the bottom and there is a waterproof membrane separating this pocket from the main section. I’ve used the waterproof cover on numerous occasions, as its great when it may not be raining, but the ground is wet. On shoots, where the weather has become more favourable, I’ve managed to stuff my jacket in-between the bag and cover, leaving the contents of the bag dry.
The top pocket, as well as accommodating the rain cover has ample room for a for a miss of quick access essentials. Gloves, hat, glasses, food, hard drive, cards, head torch and more have all been kept hidden away for when the moment strikes. Given its unassuming cave like capacity, I have unknowingly left small items in their for a month at a time….. make sure you empty it well.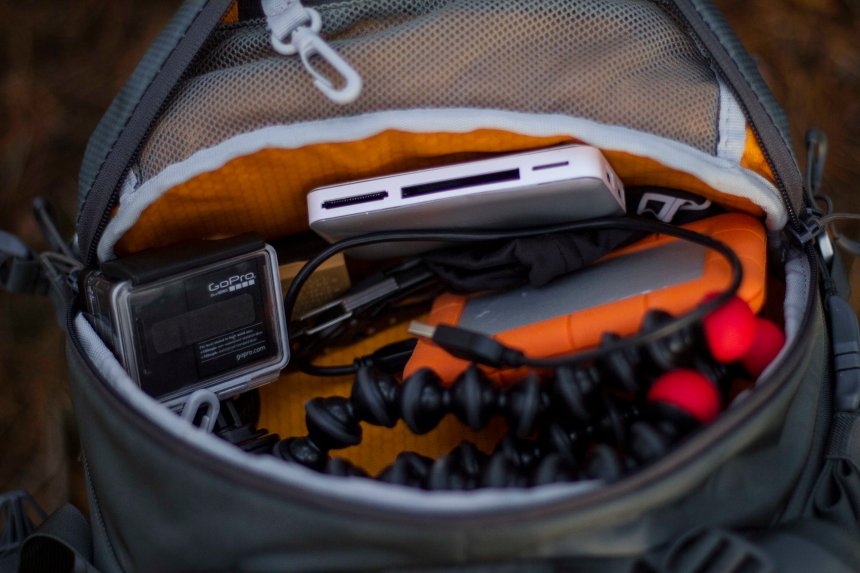
Out front, the main zip pocket can accommodate a variety of layers, water bottles and extra kit. It is also has an expandable section up top, allowing you to add to the volume when needed. At UTMB I had a midlayer, thermal layer, waterproofs and anything loose that needed. Daisy chains allow you to lash extra storage if required and ice-loops are their for the alpinists on winter shoots.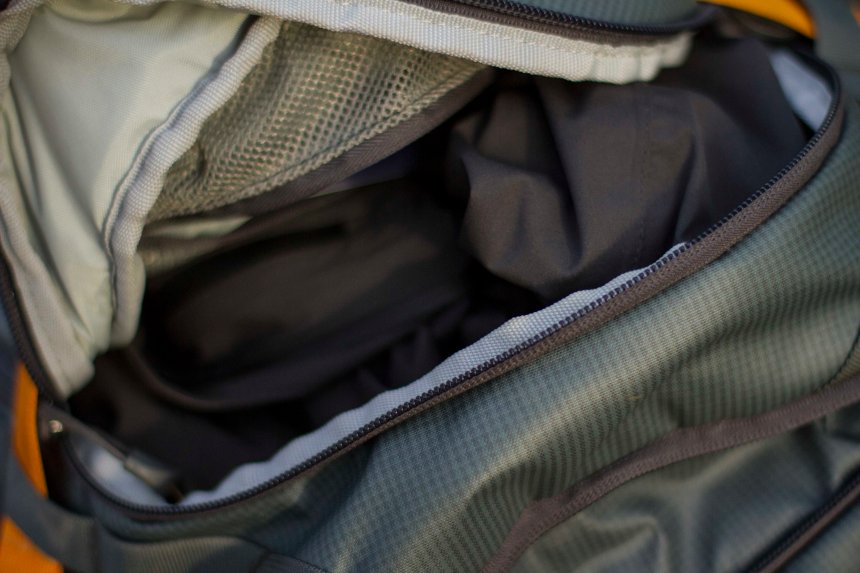
In customary LowePro orange, the front straps are designed to a take a board, skis or any larger items you need in the field. The most action I gave them was carrying muddy or wet layers back from a shoot I no longer needed to wear. However, on the sides, the compression straps easily take tripods, sleeping bags, poles etc. I use these regularly and they don’t budge when tensioned.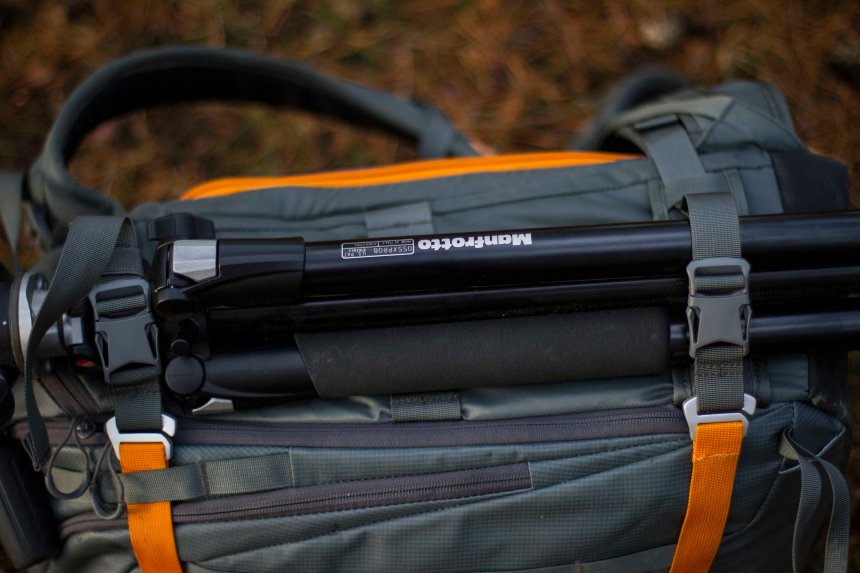
The metal finish on the yellow denier straps is particularly pleasing, a nod to mountain heritage and a feature which is sure to last.
So, overall it’s a big thumbs up. I’ve travelled with the LowePro BP 350AW all over Europe and it has never failed me. It has also become my storage unit when in my house. I like the styling, the simplicity, the construction, but most of all the thought. Rather than styling a pack to look like it belongs in the outdoors, the brand have developed a system which works, is flexible based on shoot scenarios and requirements and will take a beating.
I would like to see more accommodation for the larger lens hood and a pocket which could attach to a shoulder strap would be ideal (theirs the trail runner in me coming out). However, the biggest question I have asked myself over this period is did I pick the right size? Give someone space and they will always find a away to fill it, whether in the mountains or in a house. The 350 does make you think more carefully about what you are looking to shoot and how, and in many ways has saved some weight where required. If you are looking to carry two bodies or a back up, especially full frame, I would opt for the 450, given its extra capacity and even at my small size, I don’t feel it would be cumbersome or too large.
But that is it for gripes.
The LowePro Whilstler BP 350 AW lives up to its name. I’ve shot all types from a trail race to a wedding and the bag never became a hindrance. In fact, I’d be happy to pull out the camera section and use it as a hiking bag, it’s that comfy and balanced. I look forward to seeing what else LowePro come up for the mountain/adventure community.
